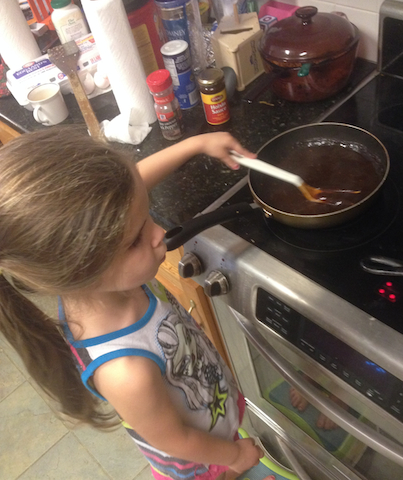
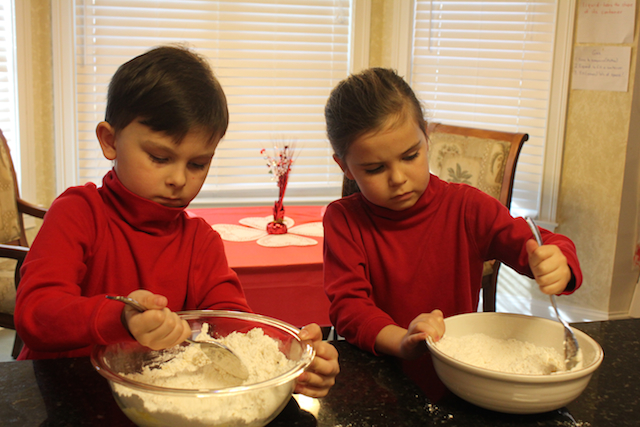
Yep, Guided by their Daddy H, Ammon &
Carter make homemade holiday pretzels!
Pretzel Prep Time (including Baking) = 30 minutes
Decorating with Vanilla Candy Coating & Color Stripes = 30 minutes
Yield = 2 dozen (24) 3 inch Pretzels
(Simple ingredients for a Scrumptious Treat…oh, yes, we we’ve been studying German and Spanish as well)

Turn your oven on to 425° F
Pretzel Ingredients
Packet of yeast
1 ½ cups of warm water
Pinch of sugar
Pinch of salt
3 cups of All Purpose Flour
Vanilla Coating = Log House Candiquik
Red & Green stripes = Wilton Candy Melts
To make the Pretzels alone, you probably already had the necessary ingredients in your cupboard/kitchen cabinets. During the Holiday Season, it was quite easy to find the vanilla Candiquik as well as the Wilton Candy Melts. All I had to do was make a quick trip to Walmart. It had everything we needed.
As you stir the mixture (no electric mixer necessary) keep adding All Purpose Flour, ¾ to 1 more cup to make the dough bouncy and not sticky.

No Mixer = Easy-Peasy!
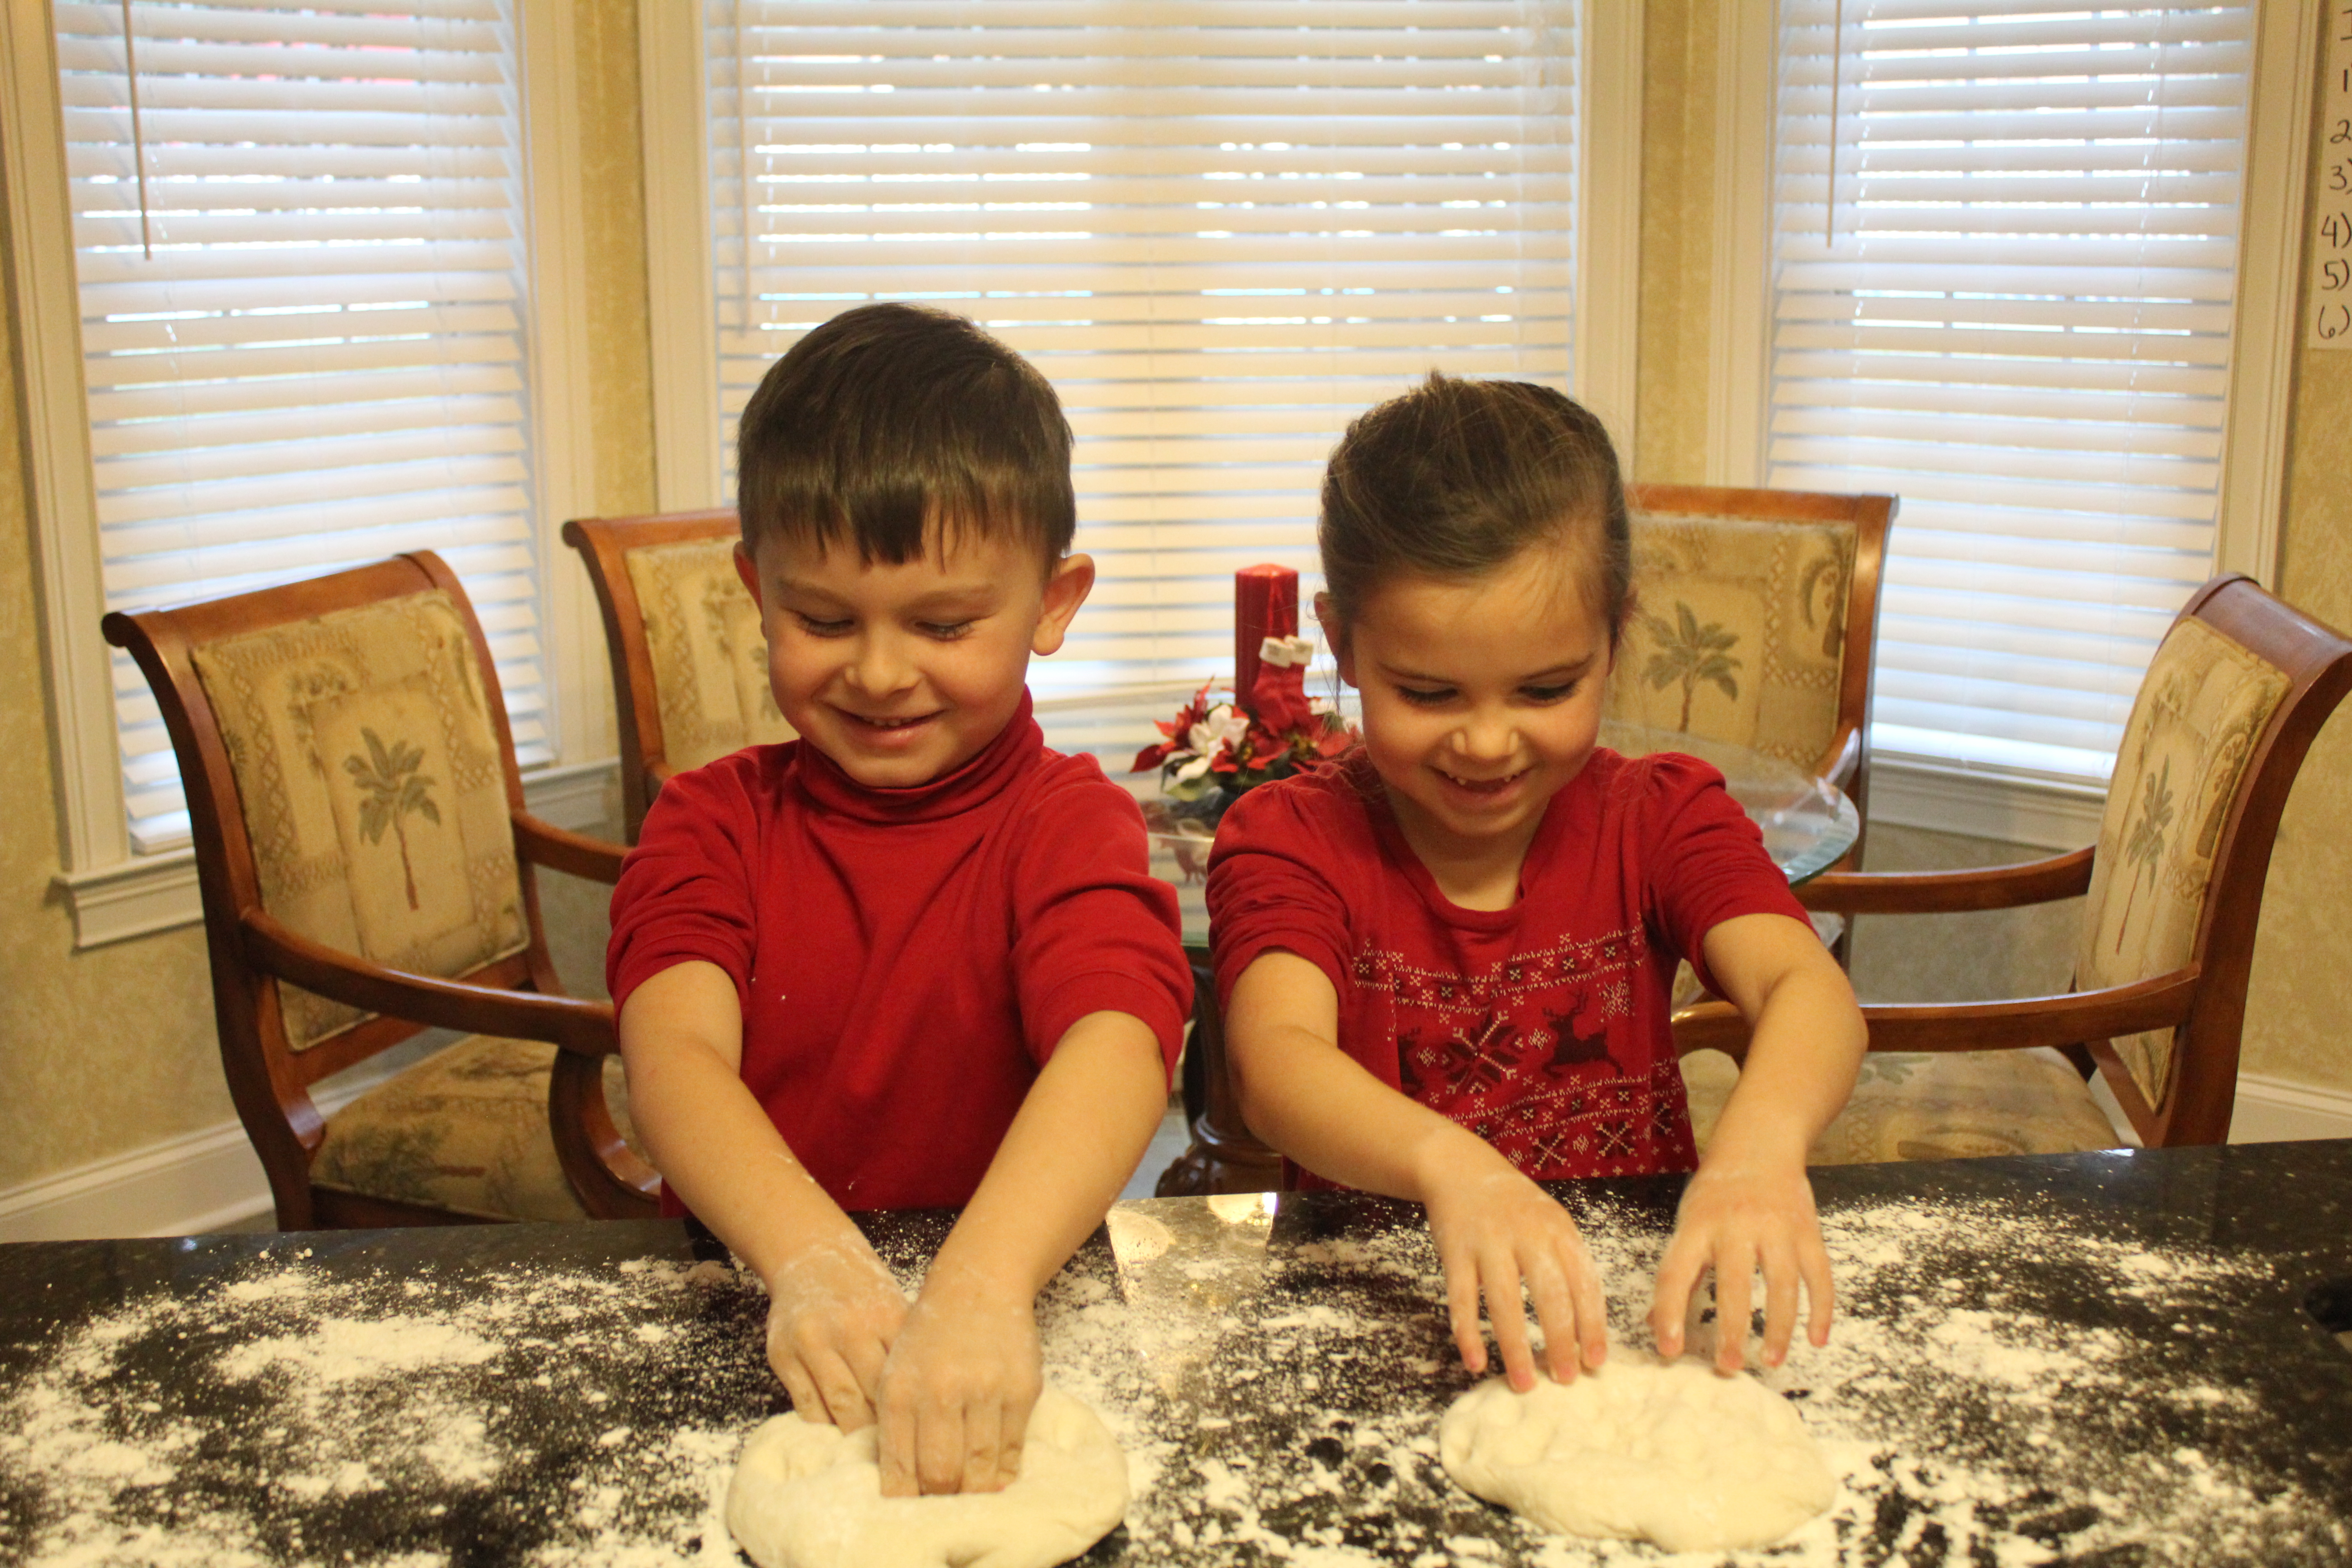
Keep a squeaky-clean, flour-dusted surface while kneading the dough.Poke the dough with your finger. If it bounds back, it is ready to make a pretzel ribbon.

If the dough bounces back, you’re ready for pretzel ribbons. Kneading is fun!
Depending on the size you want your pretzels to be, pinch off dough so as to roll out a ribbon. It took several trial & error pinches of dough balls to figure out what made our length of ribbon. We had it down in less than 5 minutes. Anywhere from 12-18 inches inches (once again, depending on the size you want your pretzels.

A clean surface helps roll out the ribbons smoothly
Shape your pretzels into a circle then twist the ends together.
Egg Bath: Beat an egg, pour it into a shallow bowl or pie dish, give the shaped pretzel a nice bath (both sides) and sprinkle with salt. Some people these days keep Sea Salt in their kitchens, or if you all are like us, use simple table salt. This egg bath with salt is a DEFINITE in this household for regular pretzels. If you want to keep your Christmas pretzels “sweet” you may want to skip this process; HOWEVER, if your taste-buds love that “sweet-salty” combination, by all means, SALT AWAY!
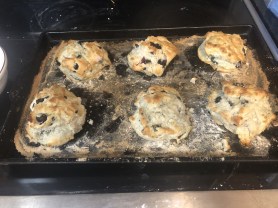
Dust your baking pan/pans lightly with flour for baking. Place your pretzels in the pan and bake at 425° for 10 minutes. After 10 minutes, turn the oven to broil for 5 minutes (maybe less….watching closely ) to help the tops become brown. Take the pretzels out of the oven and find a good place for them to cool down.

Dipping the Pretzels into Log House’s Vanilla Candiquik
After the pretzels have cooled for approximately 15 minutes, start reading your directions on how to melt your Candiquik. If you are adventuresome, use a double boiler. If you are more like us, follow the microwave instructions. Use a sturdy toothpick to turn your pretzels. After they are coated, place them on either butcher paper or wax paper. The coating will be hard in about 5 minutes.
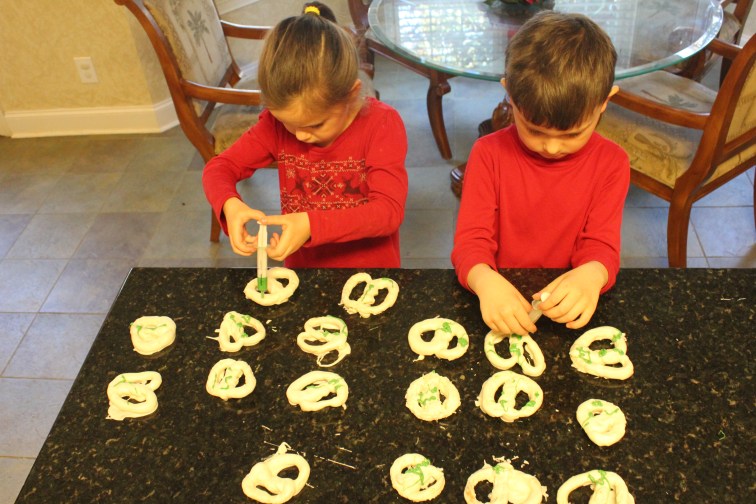
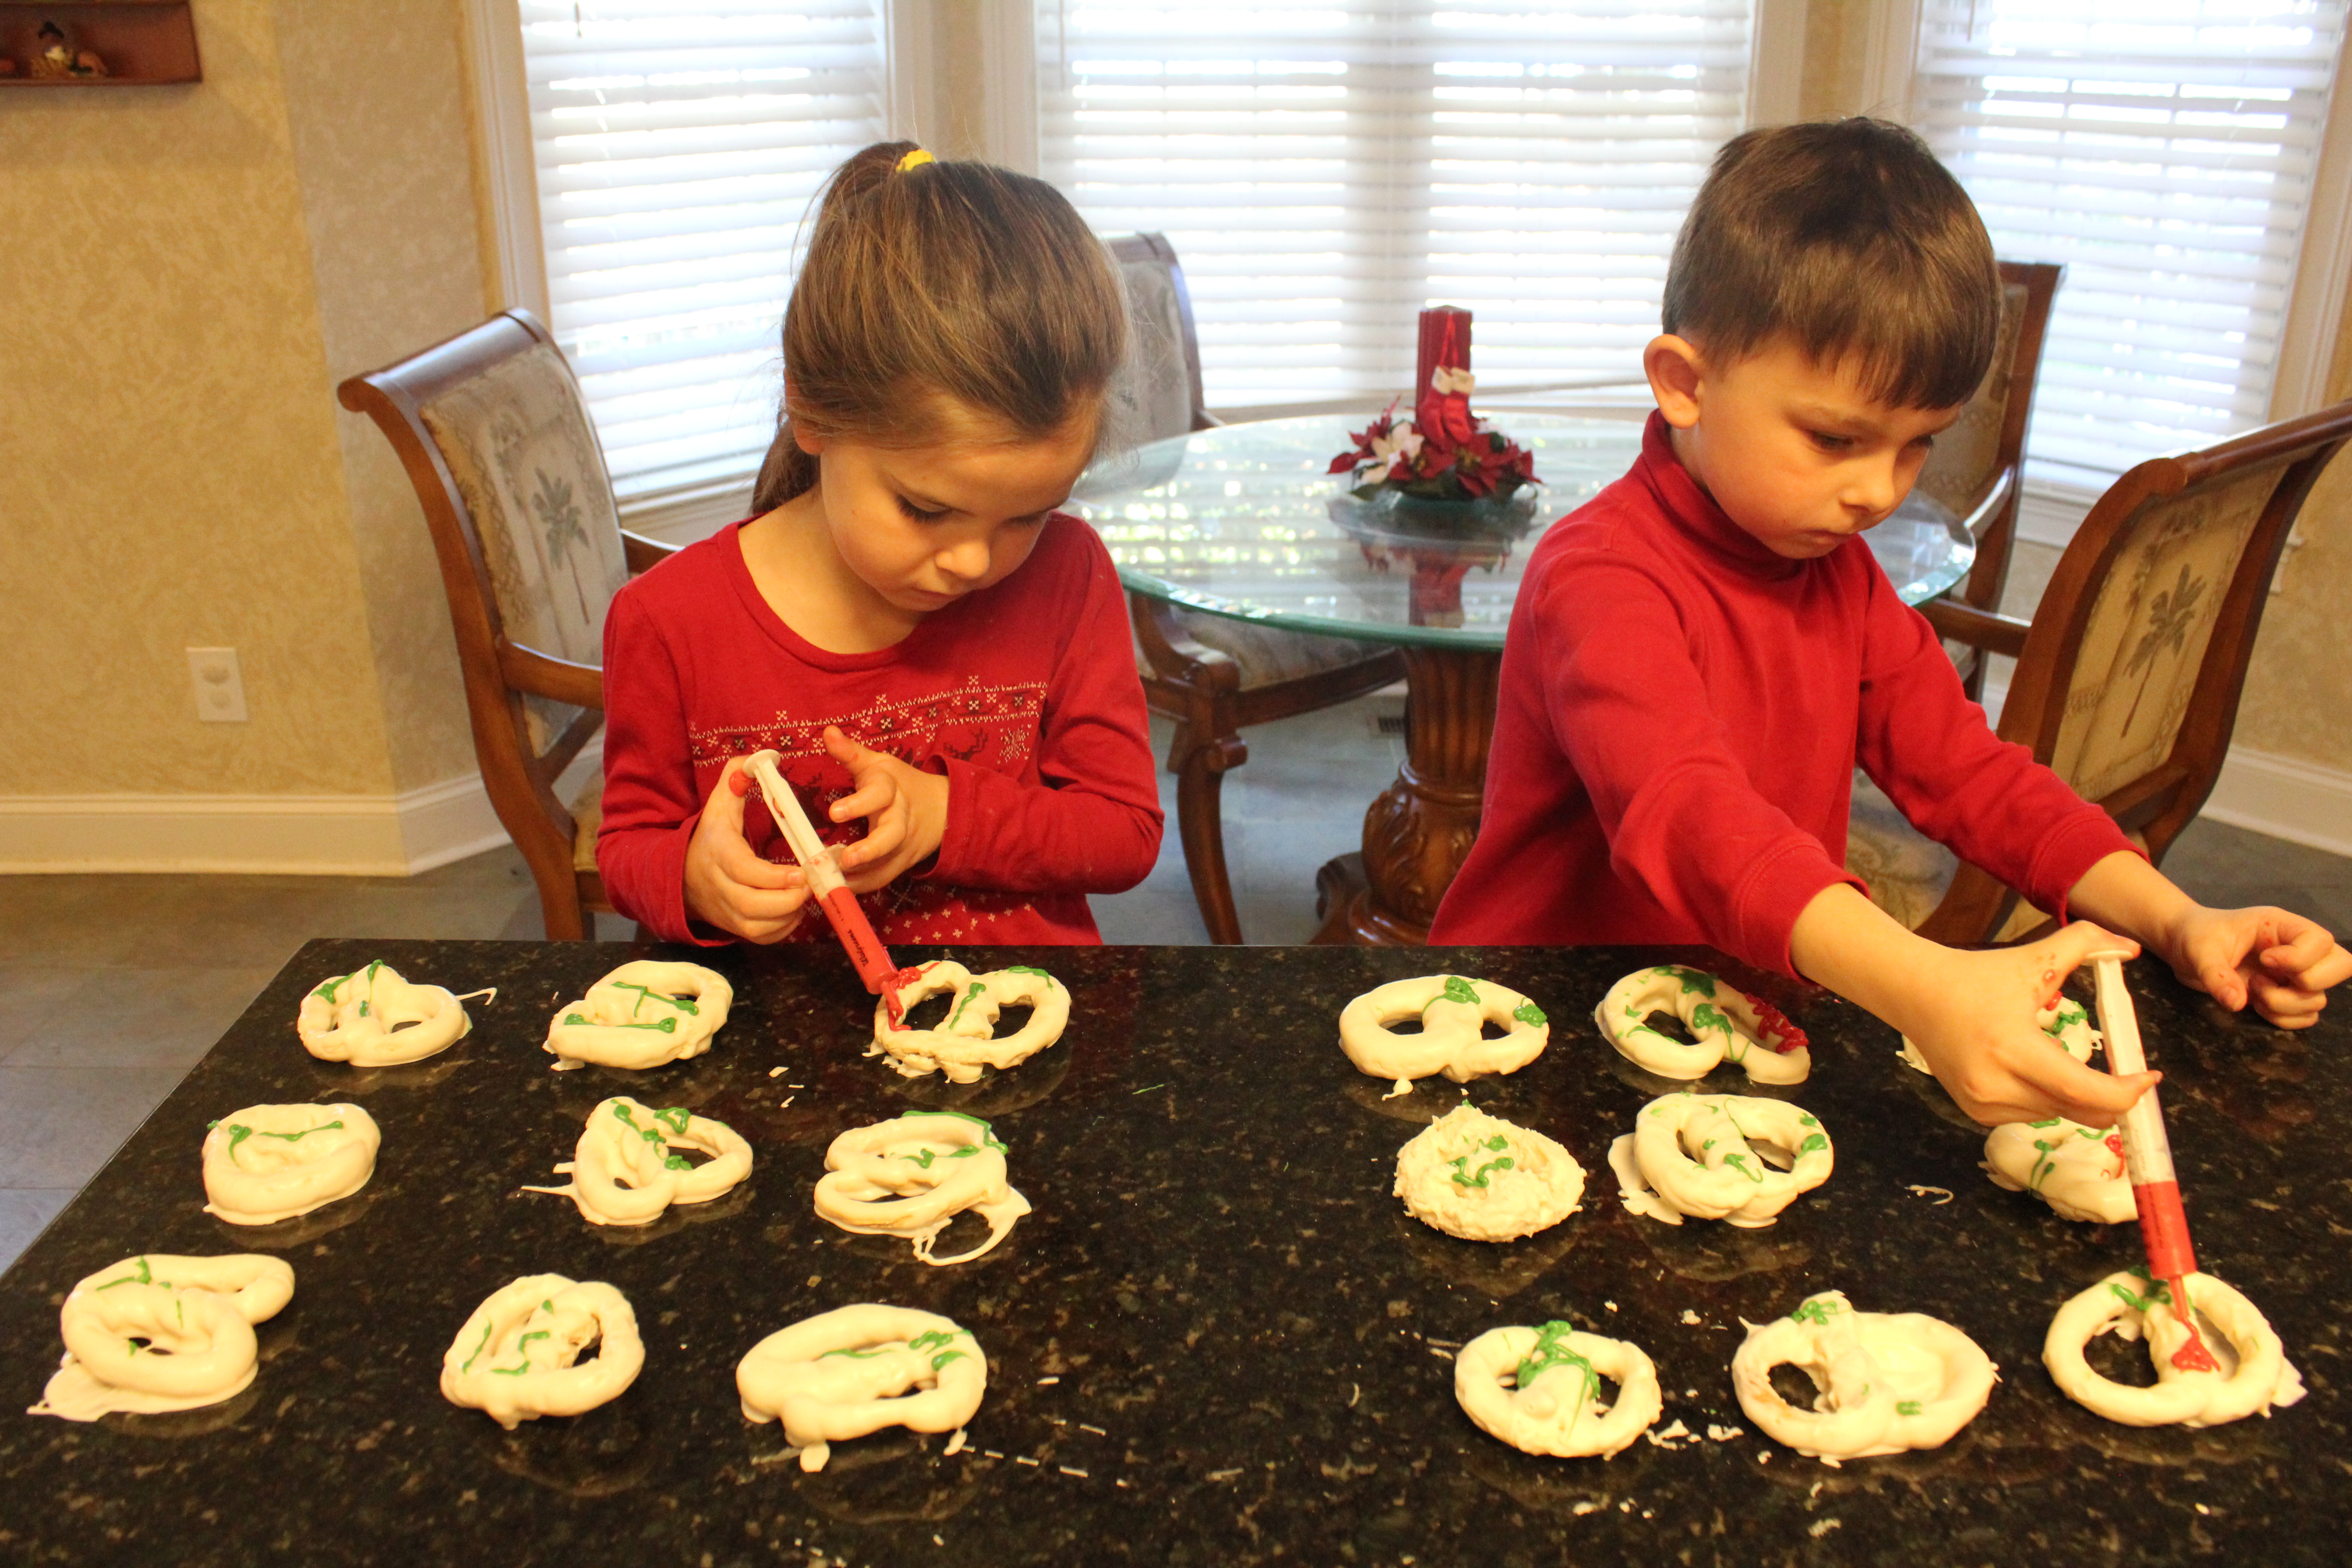
With Daddy H’s syringe creation, making green stripes on the Pretzels

Finishing up with some red strips from Wilton’s Candy Melts
Follow the directions (back of the packaging) for melting the Candy Melts. I used the large syringes (our collection from years of dispensing liquid, toddler medications) for making thin stripes of red & green on the pretzels. The melted Melts liquid is too thick to suck up in the syringes, so I took a plastic baggie, scooped the warm, melted Melts into it, dotted a whole in one corner and pinched in the liquid through the open stopper end. It flows WONDERFULLY as long as it is dispensed QUICKLY. If you do not have syringes, drizzle with a spoon or perhaps a honey dipper.
Once again, making and baking these pretzels only takes 30 minutes. The decorating takes another 30 minutes. So, 1 hour of fun, family baking and a treasured time for Christmas togetherness.